For any owner of a motor vehicle – whether a wheelchair accessible vehicle, a disability converted car or otherwise – an important part of vehicle maintenance is checking and changing the oil.
Why? Oil is the lifeblood of your vehicle, a crucial component that lubricates the motor’s moving parts. This lubrication reduces friction, which in turn reduces heat. A regular oil change is an easy part of vehicle upkeep that takes very little time, helps protect your vehicle’s beating heart and will potentially save you money on repairs.
If you’re unable to reach under the bonnet then ask your carer or support worker to regularly check it for you.
It can be a little messy, but the benefits to your engine far outweigh any grime factor. Just follow our simple steps:
- Check your oil before driving anywhere, so the engine has drained.
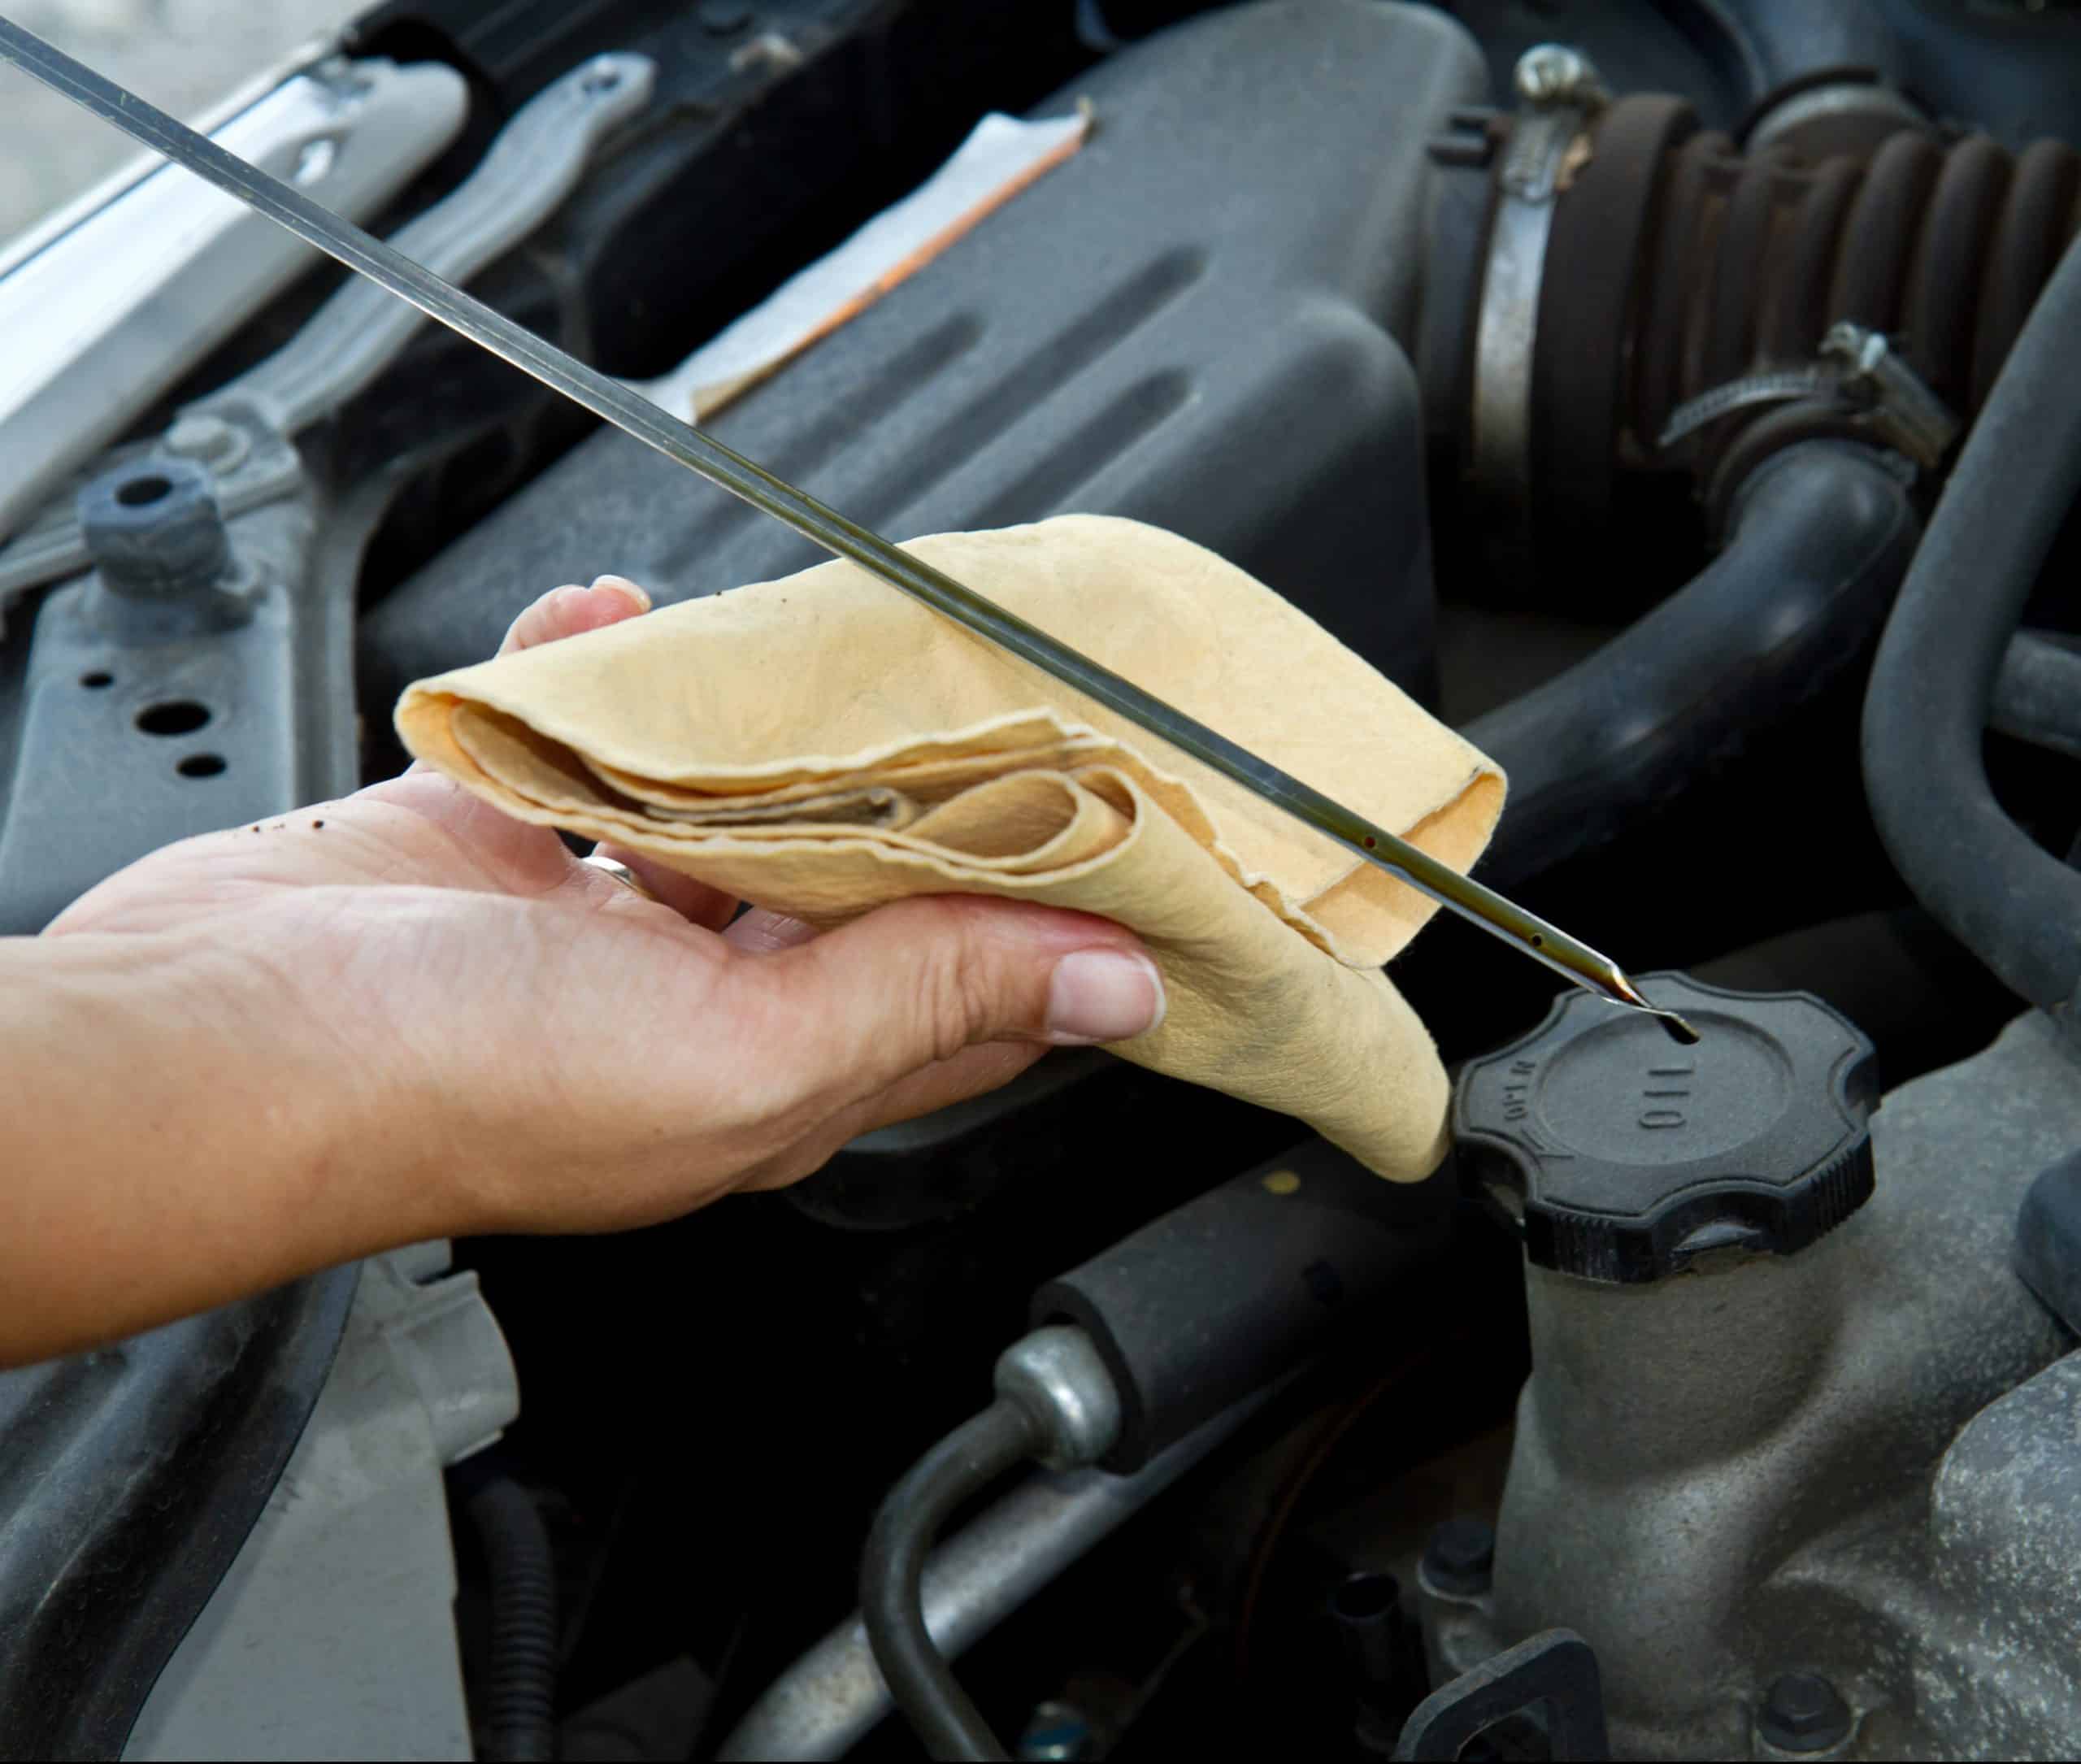
- Get a rag handy then lift your bonnet and secure.
- Pull out the dipstick (unscrewing it if needed) and wipe it clean.
- Reinsert entirely and remove again.
- Note two dipstick marks – the optimum and minimum oil levels. Yours should sit within.
- Insert common sense… if you’re low, refill the oil to its optimum level.
- Pop the dipstick back in, close your bonnet and off you go.
Be sure to repeat this process every month to help ensure a healthy engine and, if possible, change your oil every six months or 10,000km.
Aside from motor oil, there are other types of vehicle fluid that may also need to be checked regularly. These include automatic transmission, radiator coolant, power steering, and brake and clutch fluid. Read your vehicle’s owner manual and ensure you get checking as often as needed.
For further vehicle maintenance and insurance tips from Blue Badge Insurance read our other blog posts here. And for more information on our mobility vehicle insurance options click here.